
But let's start at the beginning. I live in this great country, Canada. I have travelled from coast to coast but I still feel like I have only seen a little of it. I live in the bustling city of Toronto and Rebecca and Lawrence live in rural Manitoba.
Take a look at this video...
I
Reebecca is a colleague of mine at TPI (Travel Professionals International) and she and her husband Lawrence grow wheat in Manitoba.
We were just in the Dominican Republic together last week, Here is a photo of them relaxing in the pool.

Lawrence grew the wheat and Rebecca ground it for me!
This is amazing for me! Flour! Flour! Flour! And Canadian Flour - wheat grown on Rebecca and Lawrence's land, then ground in their kitchen and sent to me and now I am going to bake bread from it!!!!!

I posted Peter Reinhart's Anadama Bread in May of 2009. You can see the different stages here.
Here are some pics with the flour that Rebecca and Lawrence sent me.

It rose so beautifully...smooth like a baby's bottom...

First I divided it to make two loaves. Then I flattened it a bit to make a rectangle.

And started rolling it up

I know it is not perfect but that is ok!

I placed it in a lightly greased loaf pan

And covered it with plastic wrap...and waited...

Wow...I waited a little too long. I should have baked it when it just crested over the pan...oops!

It still came out nice!
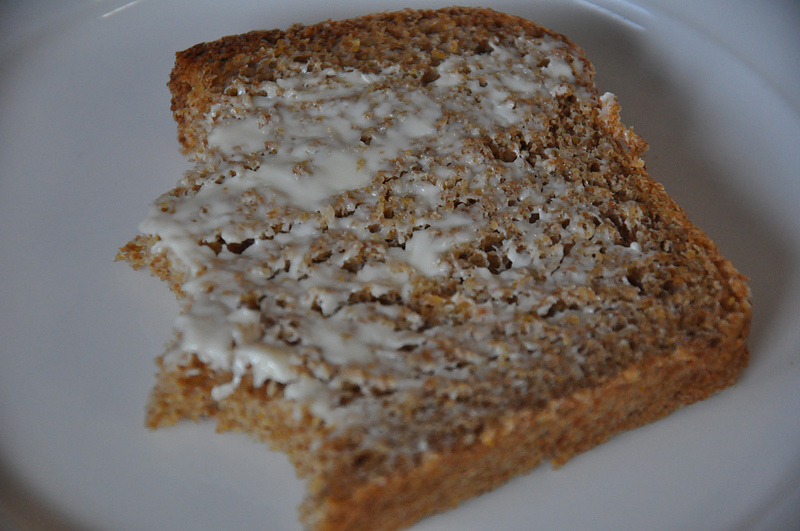
But more important...it was deeeeeelicious....Camera guy loved ...loved..it!
Thank you so much Rebecca and Lawrence...this bread was amazing!
Here is the recipe: (It is best to weigh the ingredients, so a scale is good to have if you plan on baking bread often...just sayin....)
Anadama Bread
Adapted from Peter Reinhart’s Bread Baker’s Apprentice
Makes 2- 1.5 pound loaves
I needed to add more flour to obtain a supple and tacky, not sticky, dough, but try not to add too much extra flour.
Ingredients:
Soaker
1 cup (6 ounces) coarse cornmeal
1 cup (8 ounces) water, room temperature
Dough4 1/2 cups (20.25 ounces) unbleached bread flour
2 teaspoons (0.22 ounce) instant yeast
1 cup (8 ounces) water, 90-100F
1.5 teaspoons (.38 ounce) salt
6 tablespoons (4 ounces) molasses (100 ml)
2 tablespoons (1 ounce) shortening or unsalted butter, room temperature
Cornmeal for dusting
Directions:
1.) (The night before) Mix the cornmeal and the water for the soaker in a small bowl. Cover with plastic wrap and let sit overnight at room temperature.2.) The next day, combine the soaker, 2 cups flour, yeast, and water in a mixing bowl. Cover the bowl with plastic wrap and let sit and ferment for 1 hour or until it begins to bubble.
3.) Add the remaining 2.5 cups flour, salt, molasses, and shortening or butter to the sponge. Mix on low speed with the paddle attachment (or stir) until the dough forms a ball. Add water if necessary to make a soft, slightly sticky mass.
4.) Switch to the dough hook or turn dough out onto a lightly floured surface. Knead by hand (about 10 minutes) or with the dough hook (6-8 minutes), adding flour as needed to form a dough that is tacky but not sticky which is “supple and pliable.” form into a ball.
5.) Transfer the dough to a lightly-oiled bowl rolling it around to coat in oil. Cover the bowl with plastic wrap and let rise at room temperature for about 90 minutes or until doubled in size.
6.) When dough has doubled, divide it into 2 equal pieces of 24ozs each. Shape into a loaf and place in a lightly-oiled loaf pan (9×5 inch pan). Mist the top with spray oil, and loosely cover with plastic wrap.
7.) Allow the loaf to proof at room temperature 60 to 90 minutes until the loaves have fully crested the tops of the pans.
8.) Preheat the oven to 350F with the oven rack in the middle shelf. Place the pans on a sheet pan and remove the plastic wrap. Mist the tops of the loaves with water and dust with cornmeal.
9.) Place the sheet pan in the oven and bake for 20 minutes, then rotate the pan and continue baking for 20-30 minutes. Loaf should be golden brown on all sides, register 185-190F in the center, and sound hollow when thumped on the bottom.
10.) Remove the loaves from the pans immediately and cool on a rack at least one hour before slicing or serving.
Enjoy!
Until we bake again
Penny

2 comments:
Brings back memories of baking class! Love it!
Post a Comment